How to Knit a Cardigan for Beginners Tips and Tricks?
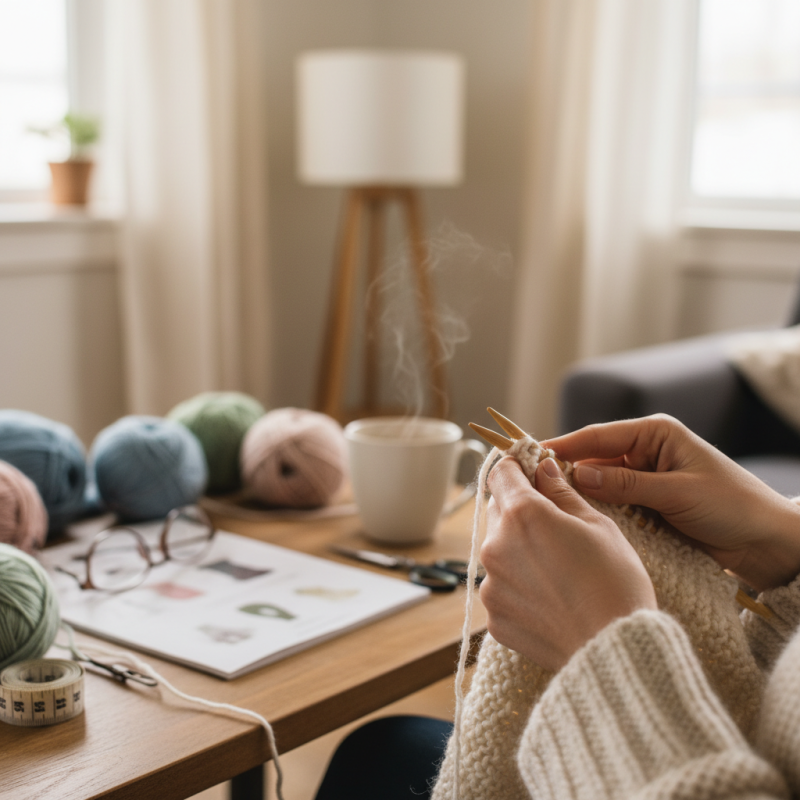
Knitting can be an enjoyable and rewarding hobby, especially when you choose to knit a cardigan. A knit cardigan is a versatile piece that adds style to any wardrobe. However, many beginners find the task daunting. The thought of choosing yarn, needles, and patterns can be overwhelming.
Starting with the right materials is crucial for success. Different yarns can affect the texture and fit of your cardigan. Knitting requires patience, and mistakes are common. You might drop stitches or miscount rows. Don’t be disheartened; these moments are learning opportunities.
As you progress, remember that practice makes perfect. It’s essential to keep trying, even when the project doesn't turn out as expected. Each cardigan you knit will enhance your skills. Knitting a cardigan is not just about creating a garment; it's about enjoying the process and embracing the journey of learning.
Choosing the Right Yarn and Needles for Your Cardigan Project
When choosing yarn for your cardigan, consider the texture. A soft yarn will feel comfortable against the skin. Look for options like cotton or wool blends. These will provide warmth without being too heavy. An interesting texture can also add character to your cardigan.
Needles are crucial too. The right size can make or break your project. If your stitches are too tight, it will be hard to work with. If they're too loose, the structure may fall apart. Generally, a medium-size needle works well for beginners. You can always try different sizes as you progress.
Don’t rush the process. You might make some mistakes. Perhaps the color doesn’t turn out as expected. That’s okay! Learn from it. Experimenting with yarn and needles will teach you what works best for you. Enjoy the journey of knitting, even when things aren’t perfect.
Understanding Basic Knitting Techniques for Cardigan Construction
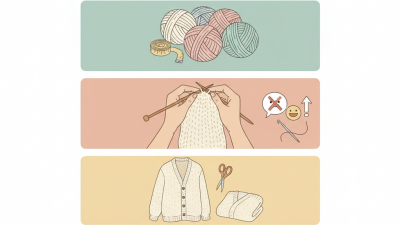
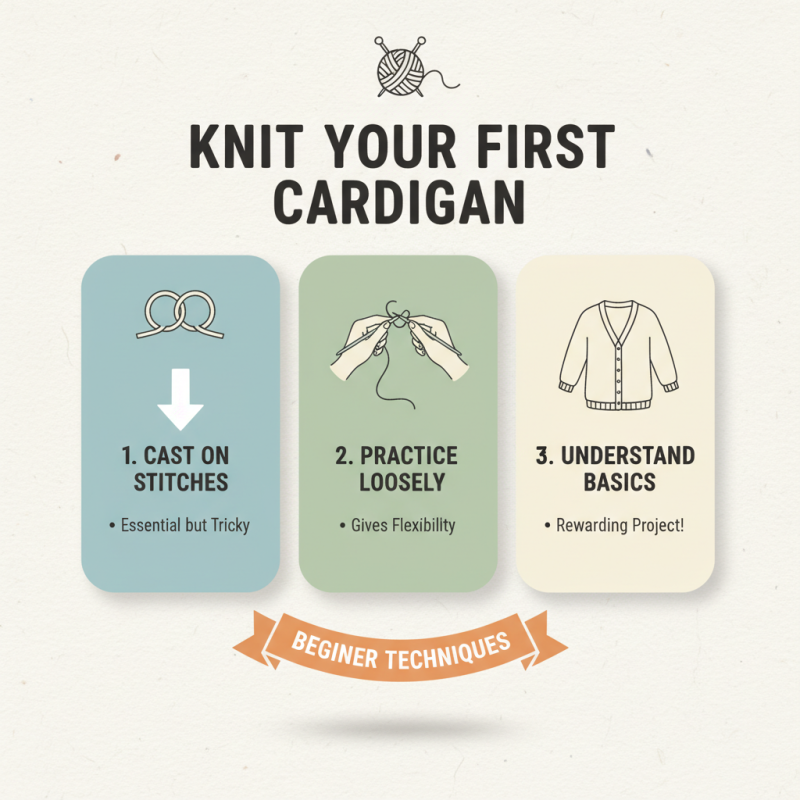
Knitting a cardigan is a rewarding project for beginners. Start by understanding basic techniques. You will need to learn how to cast on stitches. This step is essential and can be tricky. Practice casting on until you feel comfortable. A loose start will give you flexibility.
Next, focus on the knit and purl stitches. They create different textures. Try making simple swatches before your cardigan. Pay attention to tension. Uneven tension can lead to an awkward fit. Count your stitches and rows carefully. Mistakes can happen, and it’s okay to unravel a few rows to fix them.
When you are ready to begin your cardigan, consider the construction. Most cardigans have sleeves and a body. Plan your measurements beforehand. You may need to adjust patterns to fit your style. It’s common to miscalculate sizes, so consider trying it on as you go. Each mistake is a learning opportunity. Embrace the process, and don't be afraid to experiment!
Step-by-Step Guide to Knitting Cardigan Patterns for Beginners
Knitting a cardigan can be a rewarding project for beginners. Many start by choosing soft yarn and simple patterns. According to a survey by the Craft Yarn Council, about 30 million people in the U.S. knit regularly. This hobby fosters creativity and relaxation.
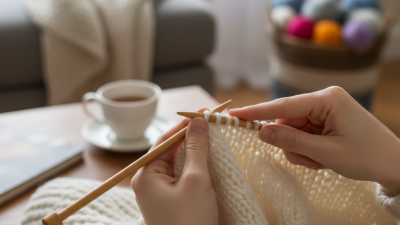
To begin, select a suitable pattern. Look for patterns labeled as “beginner-friendly.” They often use straightforward stitches. It helps to practice basic techniques like casting on and the knit stitch. A simple cardigan pattern might only require a few skeins of yarn. Keep your project accessible.
Tip: Don’t rush through your work. It’s normal to make mistakes. If a stitch looks uneven, reflect on the technique. It’s part of the journey.
Next, break the process into manageable steps. Work on one section at a time. Focus on completing the back first. Then, you can tackle the front panels. If you feel overwhelmed, take a break. Returning with fresh eyes often improves your work. Remember, patience is key in knitting.
Tip: Join a local knitting group or online forum. Sharing experiences enriches the learning process. You’ll find encouragement and tips from fellow knitters. Overall, each stitch brings you closer to your beautiful cardigan.
Tips for Measuring and Sizing a Knitted Cardigan Accurately
When knitting a cardigan, accurate measurements are crucial. Start by taking your bust, waist, and hip measurements. Use a flexible measuring tape for accuracy. Don’t just wrap it around; ensure the tape is snug but not tight. Jot down each measurement. Consider the ease you want. This adds comfort and style.
Think about armhole depth and shoulder width too. They can change the fit drastically. Use a well-fitted garment as a guide. Measure it and compare. If you’re unsure, it’s okay to make adjustments later. Mistakes are common; embrace them. Sometimes, re-knitting a section is necessary if the fit is off.
Check your gauge. It’s sometimes overlooked but vital for sizing. Knit a swatch and measure how many stitches fit into an inch. Adjust your needle size if needed. This small effort can save much frustration in the long run. Remember, crafting is a learning process. Reflect on your experiences and enjoy the journey.
How to Knit a Cardigan for Beginners Tips and Tricks
| Measurement |
Sizing (inches) |
Tips |
| Chest Circumference |
34-36 |
Measure around the fullest part of your chest. |
| Waist Circumference |
26-28 |
Keep the tape measure comfortably snug. |
| Hip Circumference |
36-38 |
Measure around the widest part of your hips. |
| Sleeve Length |
22 |
Measure from the shoulder to the wrist with your arm relaxed. |
| Length of Cardigan |
26 |
Decide how long you want your cardigan to be prior to measuring. |
Finishing Techniques: Seamless Edging and Button Placement for Cardigans
When finishing a cardigan, seamless edging creates a polished look. A simple technique is the I-cord bind off. It gives a neat finish to the edges. This method might take practice; it can be tricky. Start slowly, ensuring your tension is even.
Button placement is equally important. Measure carefully to ensure your buttons and buttonholes align. Often, beginners place buttons too far apart. This can lead to awkward gaps. Try using safety pins to temporarily secure buttons in place. Adjust as needed before sewing them.
Remember, practice makes perfect. Don't be afraid to rip out stitches if something looks off. A cardigan is a personal project; it should reflect your style. Embrace those imperfections; they add character.
Knitting Cardigans: Techniques and Preferences
This chart represents the preferences of beginners when knitting cardigans, focusing on various finishing techniques. The data indicates that seamless edging is the most preferred technique, followed by button placement, while size adjustment is the least prioritized aspect.